Navigating the Perils and Perks of The Binding of Isaac Dice Room
The Binding of Isaac, a roguelike dungeon crawler known for its immense replayability and challenging gameplay, constantly throws players into unpredictable situations. Among the many elements that contribute to this chaos, the Dice Room stands out as a high-risk, high-reward feature. Understanding how Dice Rooms function, the potential outcomes, and strategic considerations is crucial for any player looking to master the game. This article delves into the intricacies of The Binding of Isaac Dice Room, providing a comprehensive guide to help you navigate its perils and reap its potential benefits.
What is a Dice Room?
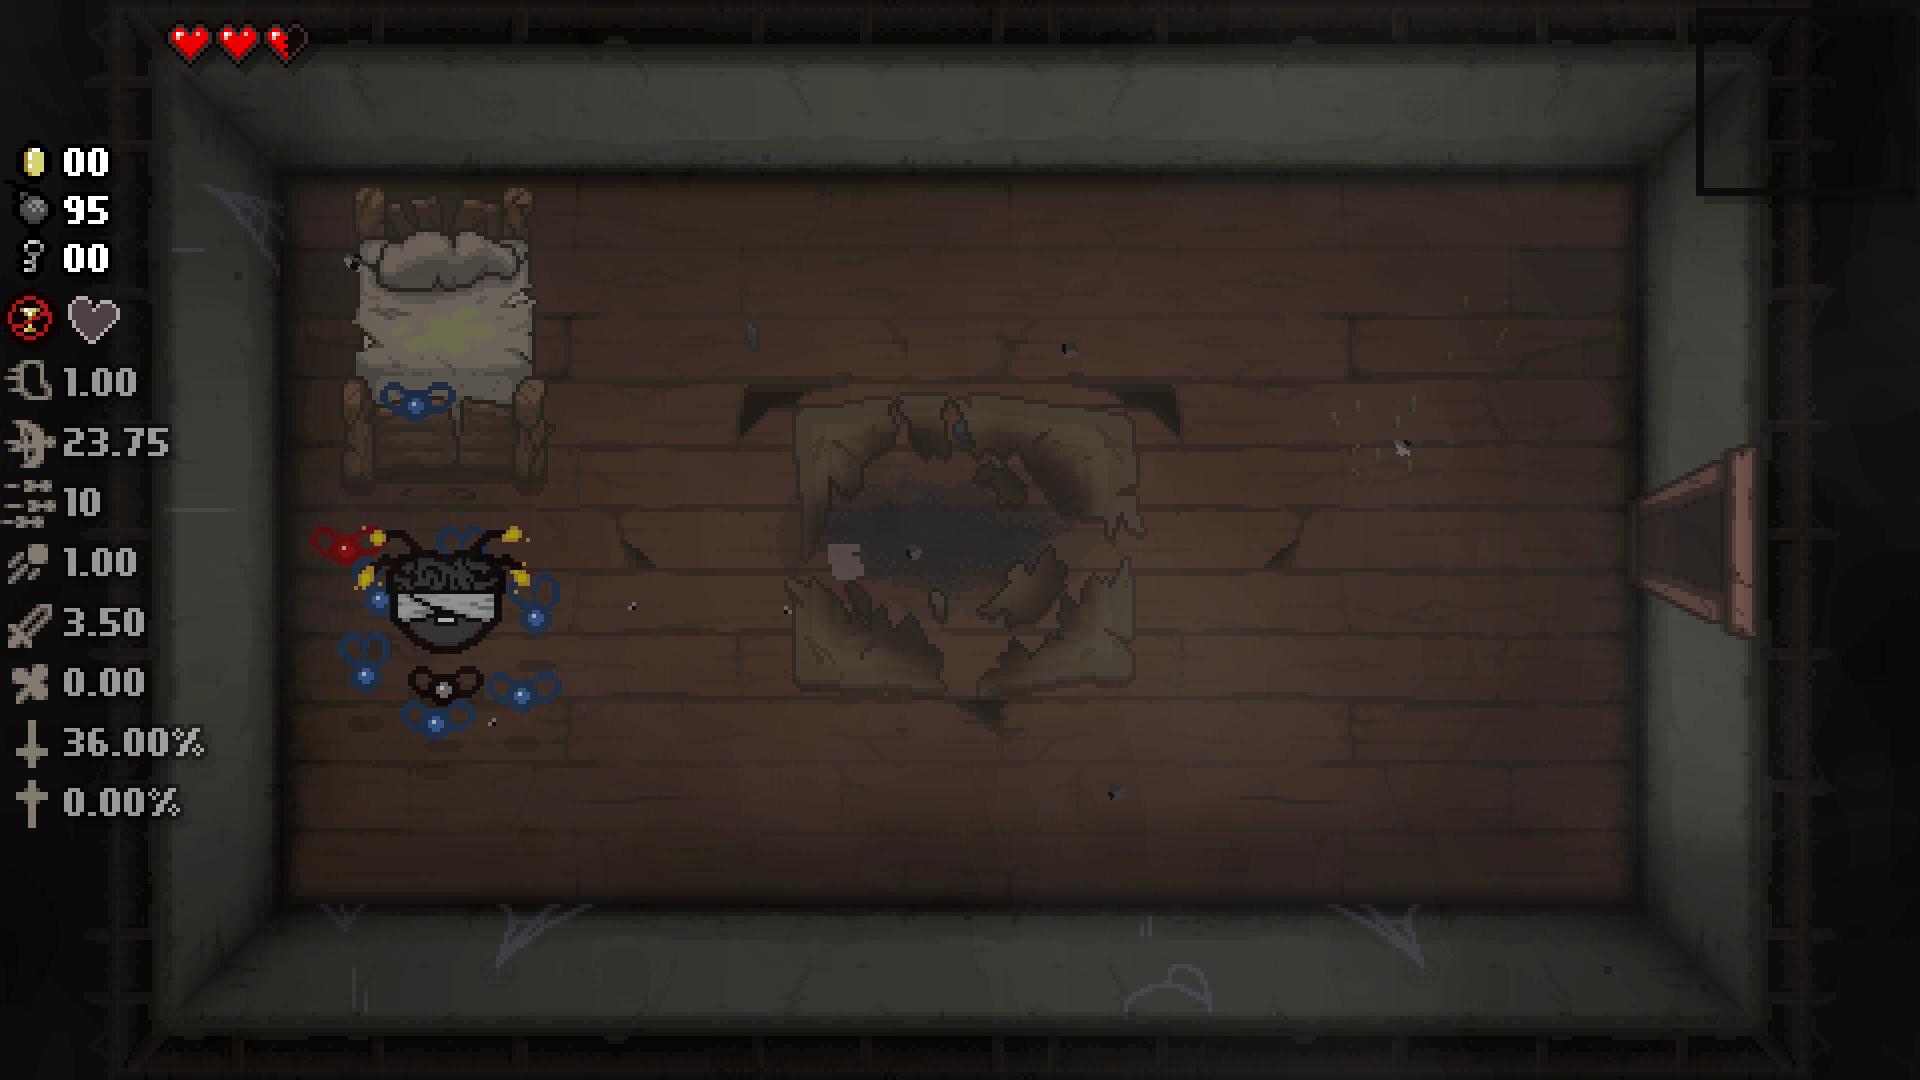
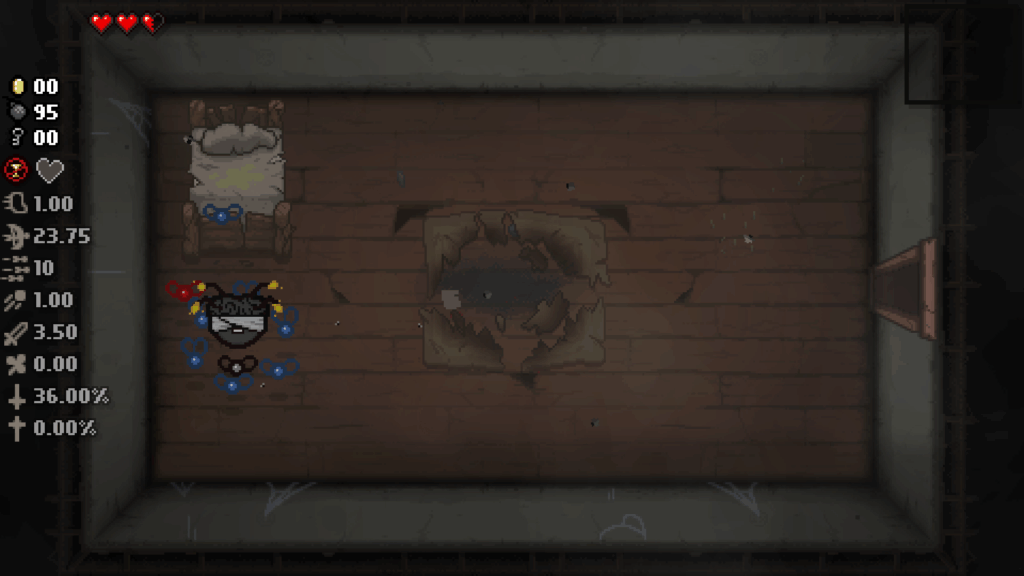
A Dice Room in The Binding of Isaac is a special room that is marked with a die symbol on the map. Upon entering a Dice Room, the player is presented with a choice of dice faces on the floor, each corresponding to a different effect. These effects can range from rerolling items to teleporting the player to a different location or even altering the entire floor layout. The key to successfully utilizing Dice Rooms lies in understanding what each dice face does and when to use them.
The Different Dice Faces and Their Effects
There are six different dice faces, each offering a unique effect:
- Dice Shard (1): This face rerolls all passive items the player has acquired. This can be a gamble, potentially turning undesirable items into powerful ones, or vice versa.
- Dice Shard (2): This face rerolls the items in the current room, including chests and pedestal items. It’s useful for getting a second chance at better loot.
- Dice Shard (3): Teleports the player to a random location on the current floor. This can be a way to skip difficult rooms or find secret areas, but it also carries the risk of landing in a dangerous spot.
- Dice Shard (4): Teleports the player to the I AM ERROR room. This room contains a single item, often powerful, but it’s a one-way trip and can disrupt your run if you’re not prepared.
- Dice Shard (5): Rerolls all pickups (coins, keys, bombs) on the current floor. This can be beneficial if you’re low on resources or looking for specific types of pickups.
- Dice Shard (6): Rerolls the entire floor layout, including rooms, enemies, and items. This is a drastic measure that can completely change the course of your run, for better or worse.
Strategic Considerations When Using Dice Rooms
Using a Dice Room effectively requires careful consideration of your current situation and the potential risks and rewards. Here are some strategic tips:
Assessing Your Current Build
Before using a Dice Room, take stock of your current build. Are you happy with your items? Are you lacking in certain areas? If you have a strong build, rerolling items with the Dice Shard (1) might be too risky. However, if you’re struggling, it could be worth the gamble.
Evaluating the Floor Layout
Consider the layout of the current floor. Are you having trouble finding the boss room? Are you low on resources? The Dice Shard (3) or (6) could help you navigate the floor more efficiently or find hidden treasures. However, be aware of the risks of teleporting into dangerous situations or completely changing the floor layout.
Managing Resources
If you’re low on coins, keys, or bombs, the Dice Shard (5) can be a lifesaver. However, keep in mind that it can also reroll valuable pickups into less useful ones. Weigh the potential benefits against the risks before using it.
Knowing When to Avoid
Sometimes, the best strategy is to avoid the Dice Room altogether. If you have a strong build, a comfortable amount of resources, and a clear path to the boss, there’s no need to risk it all on a dice roll. Remember, the Dice Room is a tool, not a necessity.
Synergies and Combinations
Certain items and synergies can enhance the effectiveness of Dice Rooms. For example:
- The D6: This item allows you to reroll items on pedestals, synergizing well with the Dice Shard (2) for even more chances at finding powerful items.
- The D4: This item rerolls all of your passive items, similar to the Dice Shard (1), but it does so instantly. This can be a powerful combination, allowing you to reroll your items multiple times in a single room.
- The D100: This item combines the effects of several dice, including the D4, D6, and D20, making it a versatile tool for manipulating the game.
The Binding of Isaac: Rebirth, Afterbirth, Afterbirth+, and Repentance
The Dice Room has remained a consistent feature across all major expansions of The Binding of Isaac, including Rebirth, Afterbirth, Afterbirth+, and Repentance. While the core functionality of the Dice Room has remained the same, the addition of new items, characters, and challenges in each expansion has further complicated the strategic considerations involved in using it. Each expansion has brought new items that can alter the outcome of dice rolls or provide additional benefits when used in conjunction with Dice Rooms. For instance, some items may increase the chances of rolling a specific dice face, while others may provide bonus effects when a particular dice face is activated. Understanding these synergies is crucial for maximizing the potential of Dice Rooms in the later expansions.
Common Mistakes to Avoid
Many players make common mistakes when using Dice Rooms. Here are a few to avoid:
- Rerolling Too Early: Don’t reroll your items or the floor layout if you’re already in a good position. Patience is key.
- Ignoring the Risks: Be aware of the potential downsides of each dice face. Teleporting to a random location or rerolling your items can be disastrous if you’re not careful.
- Not Considering Synergies: Take advantage of item synergies to maximize the effectiveness of Dice Rooms.
The Psychology of Risk and Reward
The Dice Room embodies the core elements of risk and reward that define The Binding of Isaac. The decision to enter a Dice Room often involves a psychological calculation, weighing the potential for significant gains against the possibility of devastating setbacks. This element of chance adds a layer of excitement and tension to the game, making each run unique and unpredictable. Seasoned players learn to embrace this uncertainty, developing strategies to mitigate risks and capitalize on opportunities presented by the Dice Room. Understanding one’s own risk tolerance is crucial; some players prefer a conservative approach, avoiding Dice Rooms unless absolutely necessary, while others thrive on the thrill of high-stakes gambles.
The Dice Room in Community and Culture
The Dice Room has become a significant part of The Binding of Isaac community and culture. Players often share stories of miraculous transformations and catastrophic failures resulting from Dice Room encounters. Online forums and streaming platforms are filled with discussions about the best strategies for utilizing Dice Rooms and the most memorable outcomes. The unpredictability of the Dice Room has made it a popular subject for memes and fan art, further solidifying its place in the game’s lore. This shared experience fosters a sense of camaraderie among players, as they collectively navigate the challenges and triumphs associated with this iconic feature.
Conclusion
The Dice Room in The Binding of Isaac is a powerful tool that can significantly impact your run. By understanding the effects of each dice face, considering your current situation, and taking advantage of item synergies, you can master the Dice Room and increase your chances of success. While it’s a gamble, the potential rewards are often worth the risk. So, the next time you see a die symbol on the map, don’t be afraid to step inside and roll the dice. [See also: The Binding of Isaac Item Tier List] [See also: How to Beat Mega Satan in The Binding of Isaac] [See also: Understanding Curse of the Blind in The Binding of Isaac]
